How to Add Captions to Instagram Stories

Adding captions to your Instagram Stories sets you apart and enhances accessibility for all viewers, whether watching with or without sound. Captions explain your message, grab attention and keep viewers engaged, boosting the impact of your content.

To make your Instagram Stories and Reels more inclusive and engaging, you can add captions and subtitles manually by typing out each word. Alternatively, you can use the captions sticker, which auto-generates captions for you. However, Instagram’s captioning is not available globally, and the text styles are limited.

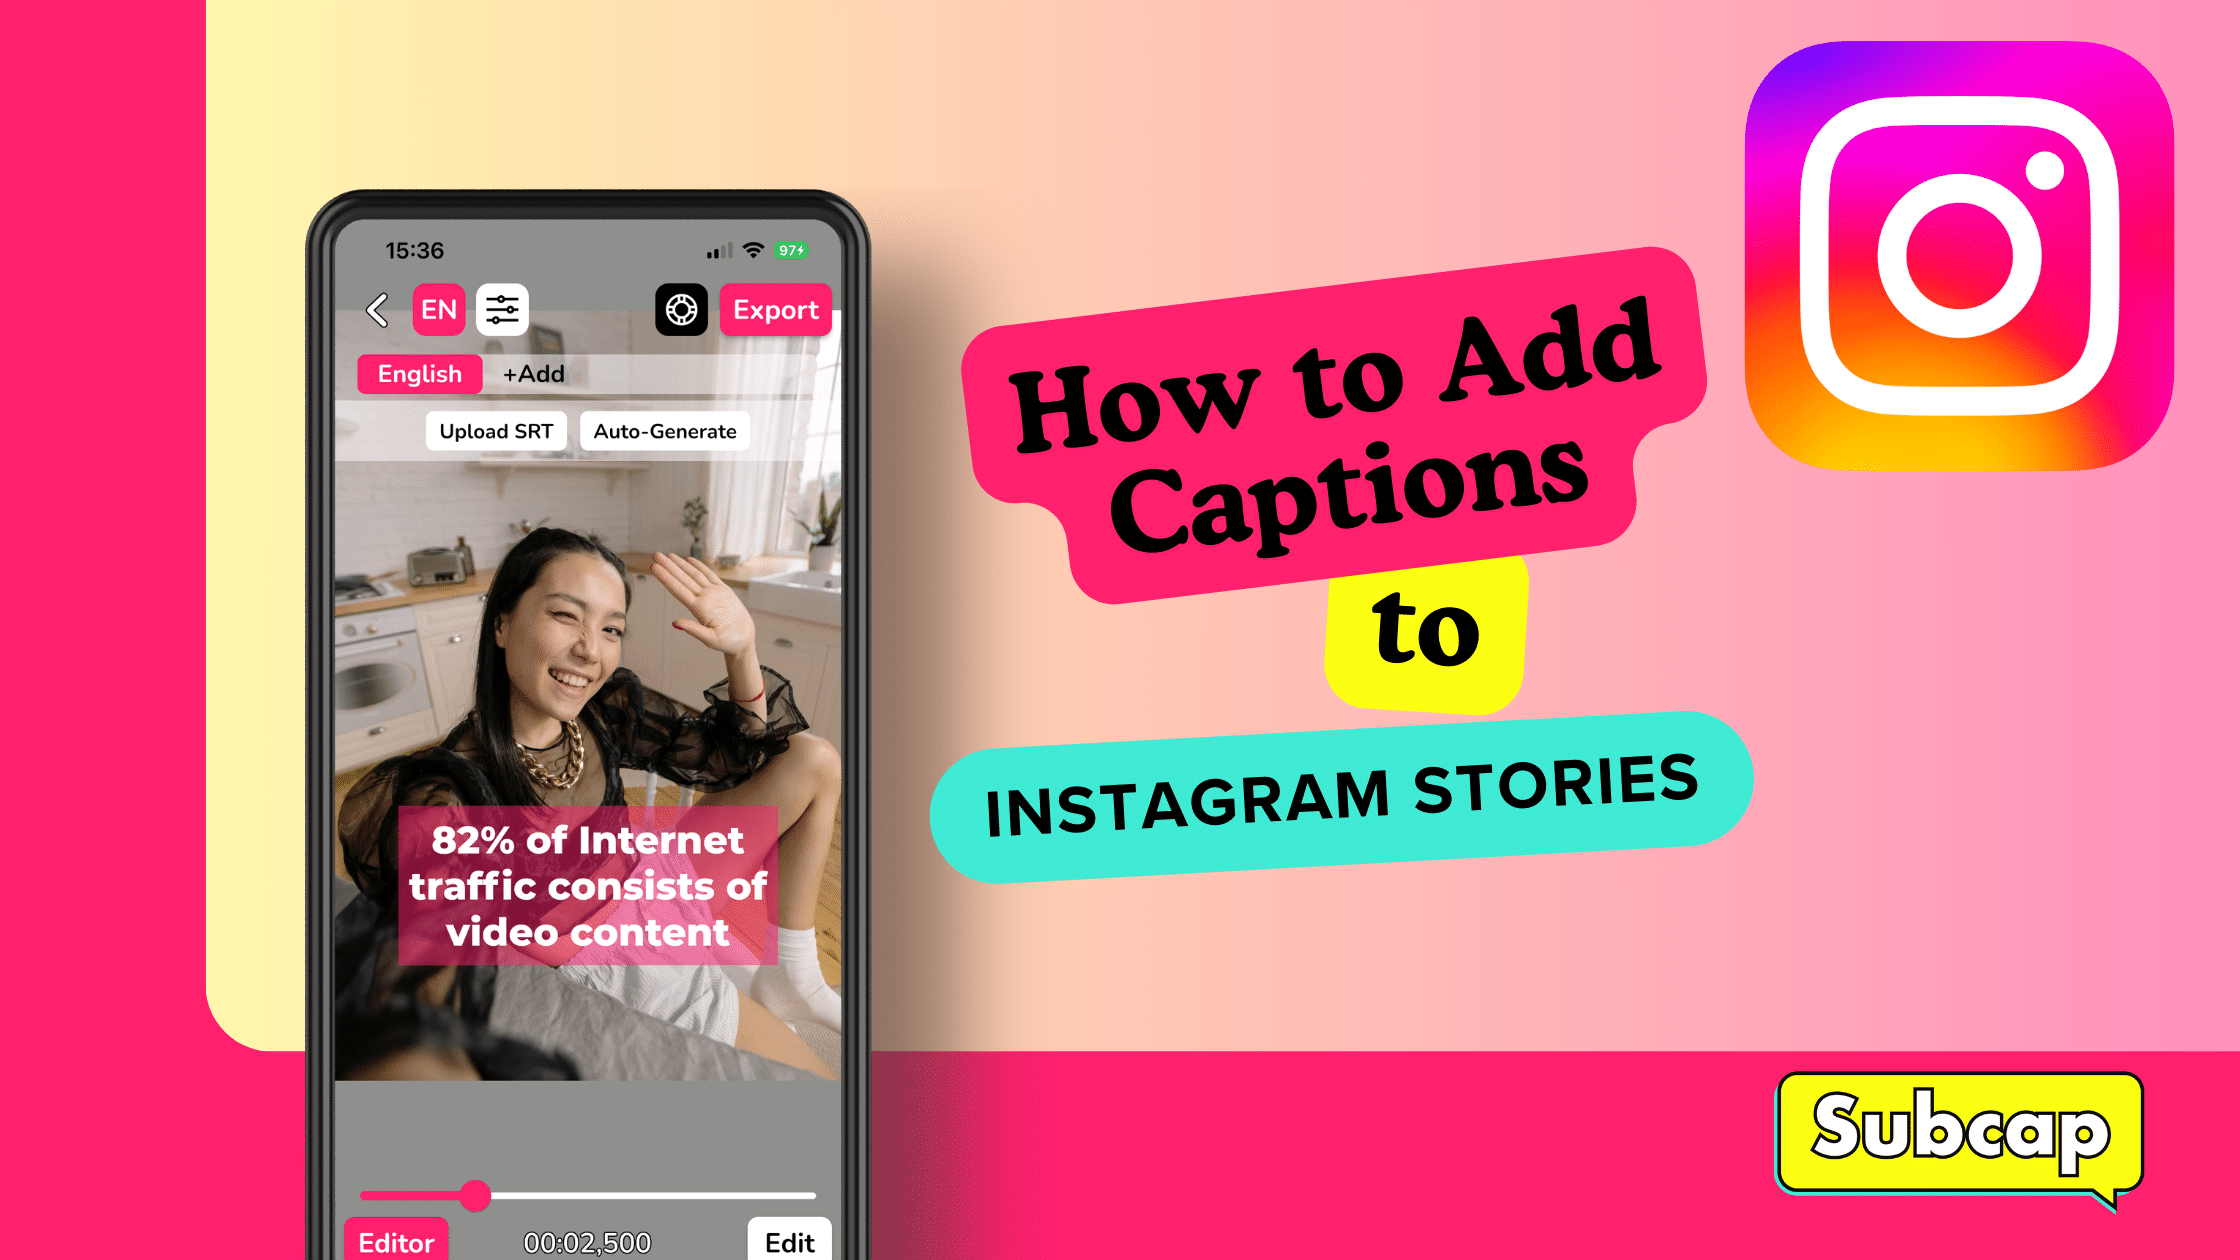
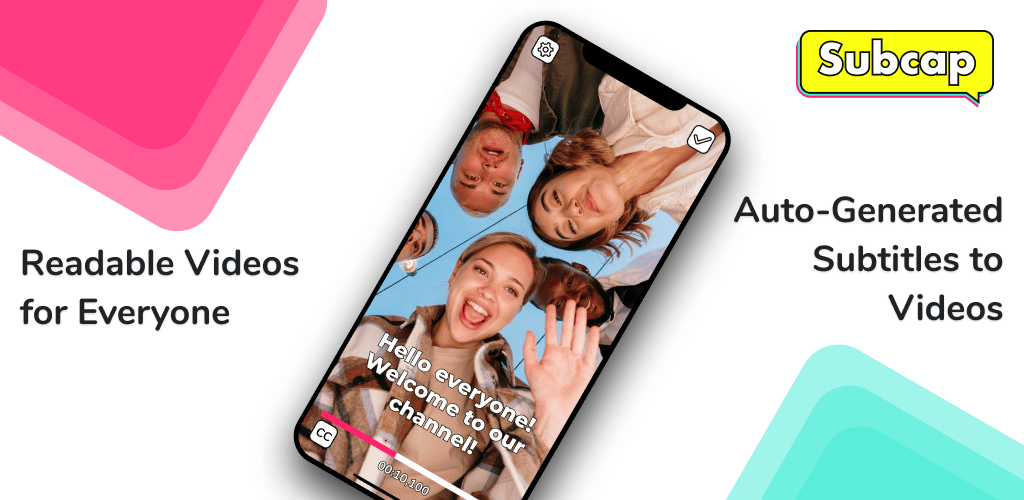
Luckily, there’s Subcap, an AI generated captions app that lets you add captions wherever you like. With Subcap, you can customize the appearance and placement of your captions to fit your unique style and storytelling needs.


Adding captions to your Instagram Stories offers several key benefits:

  1. Increased Accessibility
  2. Improved Engagement
  3. Better SEO
  4. Longer Watch Time
  5. Increased Audience Reach
  6. Enhanced Brand Awareness and Purchase Intent
 

How to add captions to instagram stories


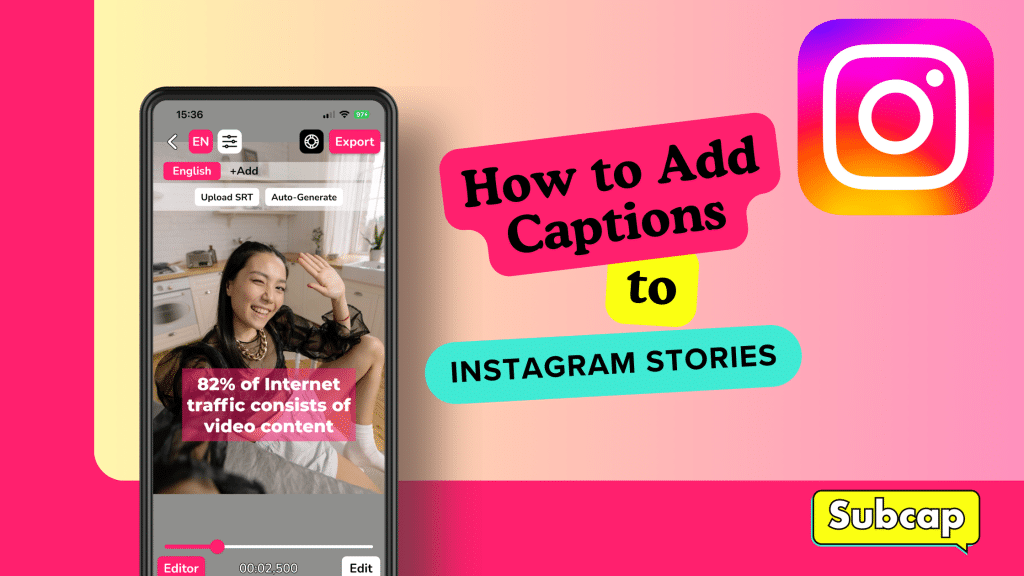
Adding captions to Instagram Stories using Subcap

Go to Subcap app and either select Record New Video or Choose from Library.

After adding a video, select your video language.


Select language on Subcap app    Select languages on the app


And tap Auto-Generate Captions.

If you want to add subtitles automatically, select Go Pro.

If you are already Pro, it’ll ask again and just select Continue. And then you can edit the subtitles easily if necessary.


Add captions (subtitles)? Continue or Add Manually buttons


Congrats! You now have a captioned video that you can share on Instagram Stories. Now you can connect with your viewers instantly to make more connections, increase engagement rates, and gain followers.

If you have any questions, please check our FAQ page.

How to Take a Video for Auto-Captions to Work Best

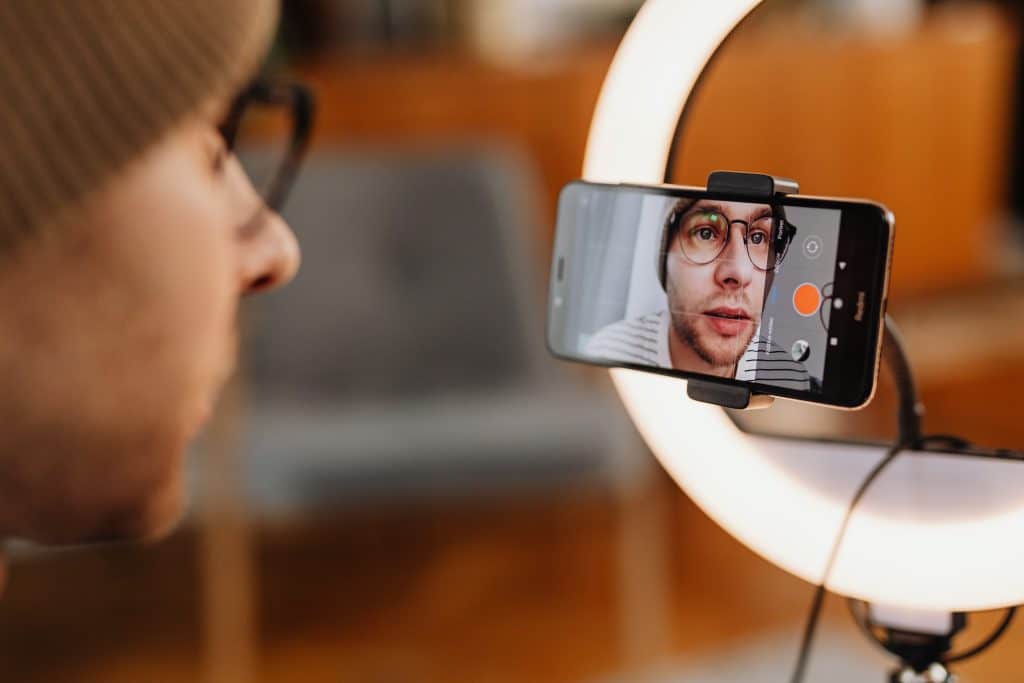
A guy taking video of himself

A guy taking video of himself

When you want to caption your video, auto-caption works best when you clear up the background noise and limit the music. It’s also important to speak clearly, loudly as much as possible. Pronouncing words correctly will help ensure that they’re accurately transcribed by Subcap.

Clear up the background noise.

There are a few things you can do to make sure that your video is as clear as possible. First and foremost, use a quiet room for recording your videos. This will help eliminate the background noise and allow for auto-caption to work its magic. If there is any kind of interference or interruptions in your video, it will be very difficult for automatic captions to understand what is being said.

Another tip is to have a microphone that has some sort of noise cancelling feature—this might be built into your computer or phone’s camera or included with an external webcam purchase. Noise cancelling microphones help block out distracting sounds like air conditioners or fans in the background while still allowing you to record clear audio from whoever may be speaking into them at the time of recording (like yourself).

Another option would be using headphones with microphones attached right onto them!

Limit background music.

The first step to creating a video that will work for auto-caption is to make sure the background music doesn’t get in the way. If too much of your video has loud and distracting background music, it’s going to be hard for our technology to understand what’s being said and ensure your audience can hear their content clearly.

If you want to add music to your video, do it after you captioned your video.

Speak clearly and loudly as much as possible.
  • Speak clearly and loudly as much as possible. It’s not the only thing that matters, but it is definitely the most important.
  • Don’t speak too fast or too slow. The right pace depends on your audience’s attention span, so test it out by reading aloud before recording a video.
  • Avoid mumbling, slurring, or using slang words unless absolutely necessary for clarity purposes only! It makes things difficult for both auto-captioning systems and human transcribers alike when trying understanding what someone said during those moments where we lose our train of thought mid sentence because we forgot some detail about something else entirely unrelated (and thus begin rambling). This can also help keep things interesting when watching back later on since people tend not do this type thing often enough while talking naturally anyway 🙂
Pronounce words correctly.

To make your captions more accurate, you should pronounce words correctly and use correct punctuation. In addition to using proper grammar, this will help Subcap’s automatic captioning algorithm better understand what you’re saying in the video.


Using the tips above will help you get the most out of your auto-captioned video.

Auto captioning is a great tool for people who are deaf or hard of hearing, as well as anyone who needs subtitles to be able to hear audio. This process can be used in many languages, so it’s not limited to just English—you can find captions in 125 languages on Subcap!

As you can see, there are a number of things you can do to make sure your auto-captions are accurate. Auto captioning is growing in popularity, but there are still some kinks that need to be worked out before it becomes the standard way of generating subtitles. With these tips and tricks, you should be able to get better results than ever before!


How to Automatically Add Subtitles to Videos


We all know that videos with subtitles increase reach and engagement on social media. So, it’s a pretty good strategy to add subtitles to your videos because 85% of videos are watched without sound.

You want to add subtitles but you don’t have the time and energy to type it all? There should be a quick and easy way, right?

You can add subtitles automatically and you can do it easily on your mobile phone. All you have to do is download Subcap on your iOS or Android phone.

Subcap is an auto-subtitle generator mobile app with high accuracy thanks to its artificial intelligence. It allows you to shoot a video or upload a video from the gallery. It automatically transcribes the audio to text in 125 languages.

Besides, you can automatically translate subtitles created in the language of your video into other languages and add a new subtitle to your video. Subcap uses machine translation to detect more than one hundred languages. You can also create your video with subtitles by adding your .srt file to your video.

You don’t need to log in or give any personal information. Just download Subcap and start captioning your videos. It’s so easy. Let’s see how it works.

How to add subtitles

First of all, you can shoot a video from the homepage or add an existing video from your phone.

After adding a video, select your video language.

Select language on Subcap app    Select languages on the app

And tap Auto-Generate Captions.

If you want to add subtitles automatically, select Go Pro.

If you are already Pro, it’ll ask again and just select Continue. And then you can edit the subtitles easily if necessary.

Add captions (subtitles)? Continue or Add Manually buttons

Congrats! You now have a captioned video that you can share on social media. Now you can connect with your viewers instantly to make more connections, increase engagement rates, and gain followers.

If you have any questions, please check our FAQ page.

How to Fix Instagram’s Auto-Generated Captions

Automatically generated captions are now available for all feed videos on Instagram and captions will be turned on by default. TikTok introduced this feature in April 2021, so it’s not surprising that Instagram did the same.

Head of Instagram Adam Mosseri said that “It’s a long time coming, but we’re excited to share a new tool that empowers those in the deaf and hard-of-hearing communities. Videos on Instagram will now have auto-generated captions, where you have the option to turn them off or on.”

Captioning on Instagram: Instagram's auto-captions, two phones showing settings
Image Credit: Instagram


What is wrong with Instagram’s Auto-Captions?

Even though it is a late but great feature, it’s still not good enough.

Let’s learn all about captioning on Instagram. Here are all the features that it’s currently missing.


1. Customization:

Your videos on Instagram feed will have black and white text captions along the bottom of the screen and you cannot change the font, size or location. You cannot change the color of the text either. Needless to say, you can do all of those and more on Subcap. You can also add emojis to your captions.


2. Editing:

You don’t have the option to edit the auto-captions on Instagram.  They will be auto-generated and that means lots of wrong captions which are doomed to become funny memes. Don’t risk it and edit your captions via Subcap.


3. Limited Language Options:

Instagram’s auto-generated captions are only available in 17 languages for now. Subcap supports 125 languages and their variants with great accuracy.


4. No Auto-Captioning for Stories or Reels:

Instagram hasn’t made any announcements about the auto-captions feature for Stories and Reels. In the meantime, you can use Subcap and post your videos on every social media platform including TikTok, Snapchat, Instagram Reels and Stories, Facebook, Twitter or via E-Mail, Whatsapp, etc.

As you can see above, Instagram’s auto-captioning feature is great for accessibility and more. However, it’s not quite there yet.

Subcap is perfect for captioning on Instagram. If you’d like to try Subcap, click the links below.

iOS

Android

If you’d like to know why it’s a good idea to caption all your videos, read our blog post about it.