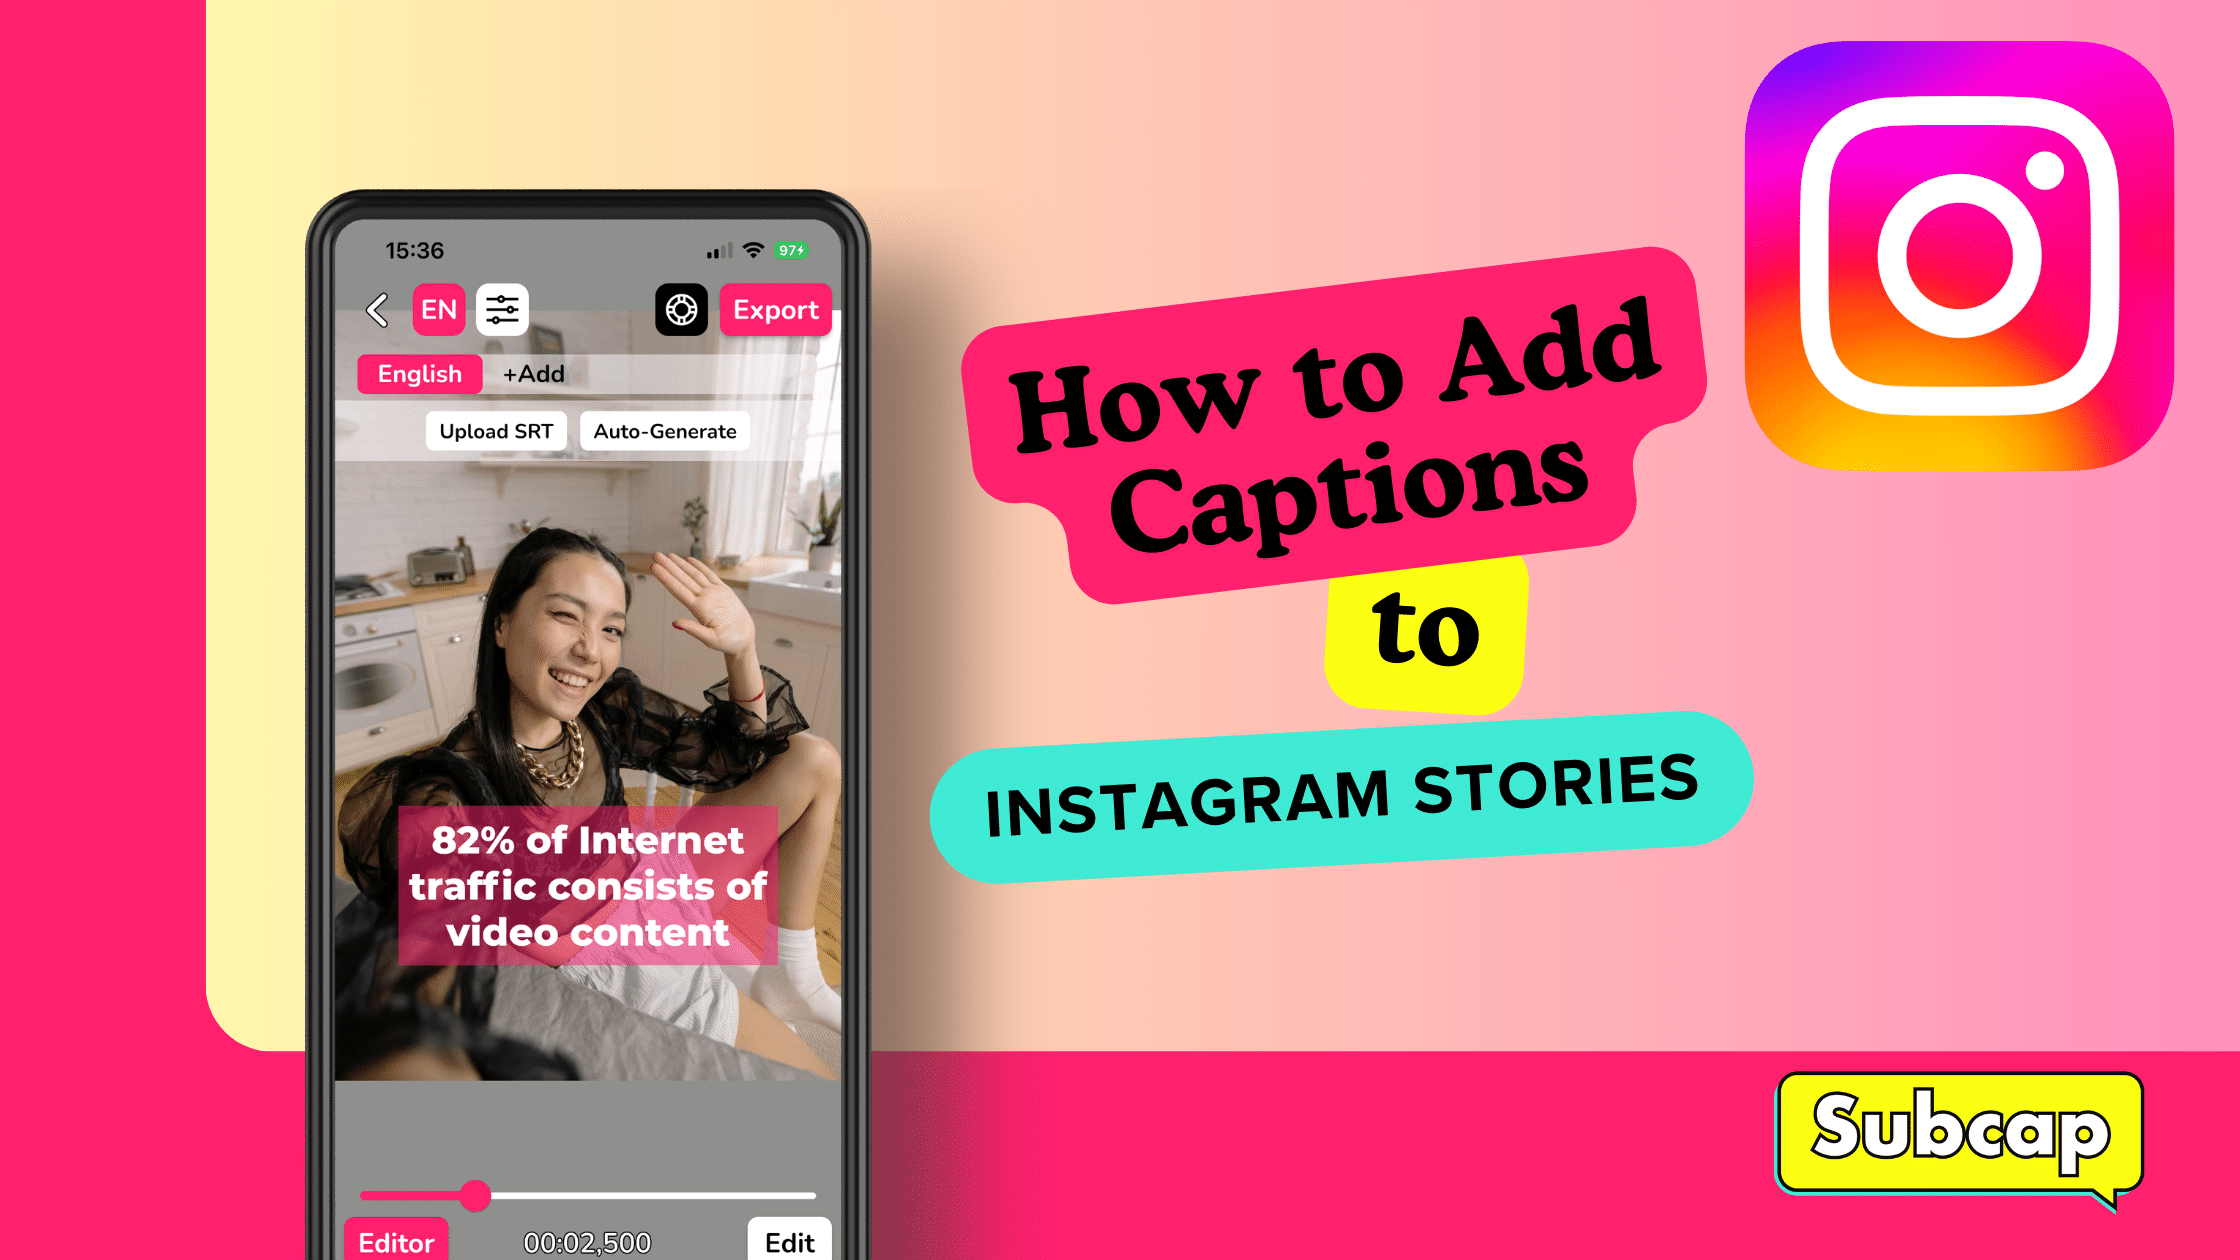
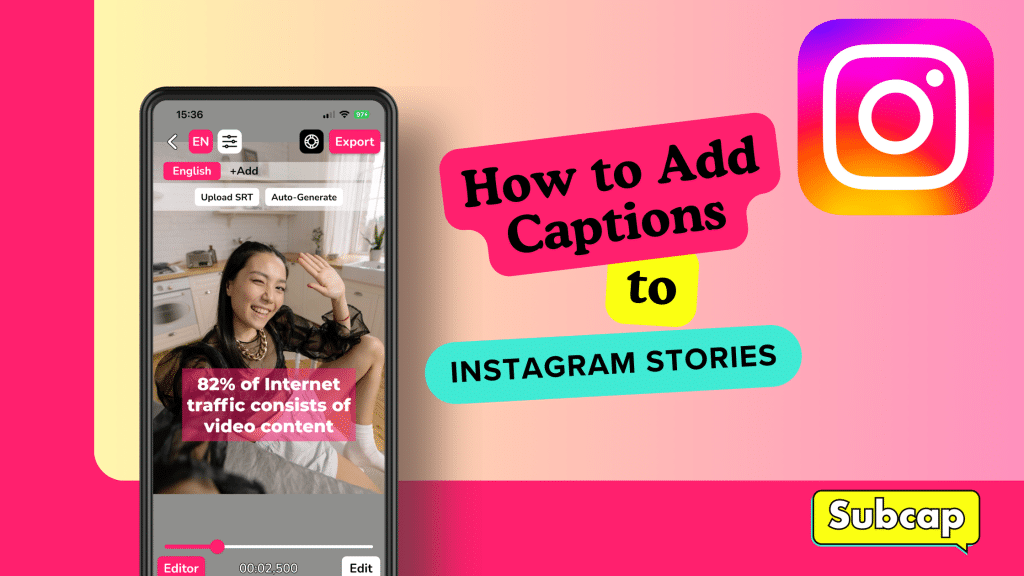
How to Add Captions to Instagram Stories

Adding captions to your Instagram Stories sets you apart and enhances accessibility for all viewers, whether watching with or without sound. Captions explain your message, grab attention and keep viewers engaged, boosting the impact of your content.

To make your Instagram Stories and Reels more inclusive and engaging, you can add captions and subtitles manually by typing out each word. Alternatively, you can use the captions sticker, which auto-generates captions for you. However, Instagram’s captioning is not available globally, and the text styles are limited.

Luckily, there’s Subcap, an AI generated captions app that lets you add captions wherever you like. With Subcap, you can customize the appearance and placement of your captions to fit your unique style and storytelling needs.


Adding captions to your Instagram Stories offers several key benefits:

  1. Increased Accessibility
  2. Improved Engagement
  3. Better SEO
  4. Longer Watch Time
  5. Increased Audience Reach
  6. Enhanced Brand Awareness and Purchase Intent


How to add captions to instagram stories


Adding captions to Instagram Stories using Subcap

Go to Subcap app and either select Record New Video or Choose from Library.

After adding a video, select your video language.


Select language on Subcap app    Select languages on the app


And tap Auto-Generate Captions.

If you want to add subtitles automatically, select Go Pro.

If you are already Pro, it’ll ask again and just select Continue. And then you can edit the subtitles easily if necessary.


Add captions (subtitles)? Continue or Add Manually buttons


Congrats! You now have a captioned video that you can share on Instagram Stories. Now you can connect with your viewers instantly to make more connections, increase engagement rates, and gain followers.

If you have any questions, please check our FAQ page.

How to Take a Video for Auto-Captions to Work Best

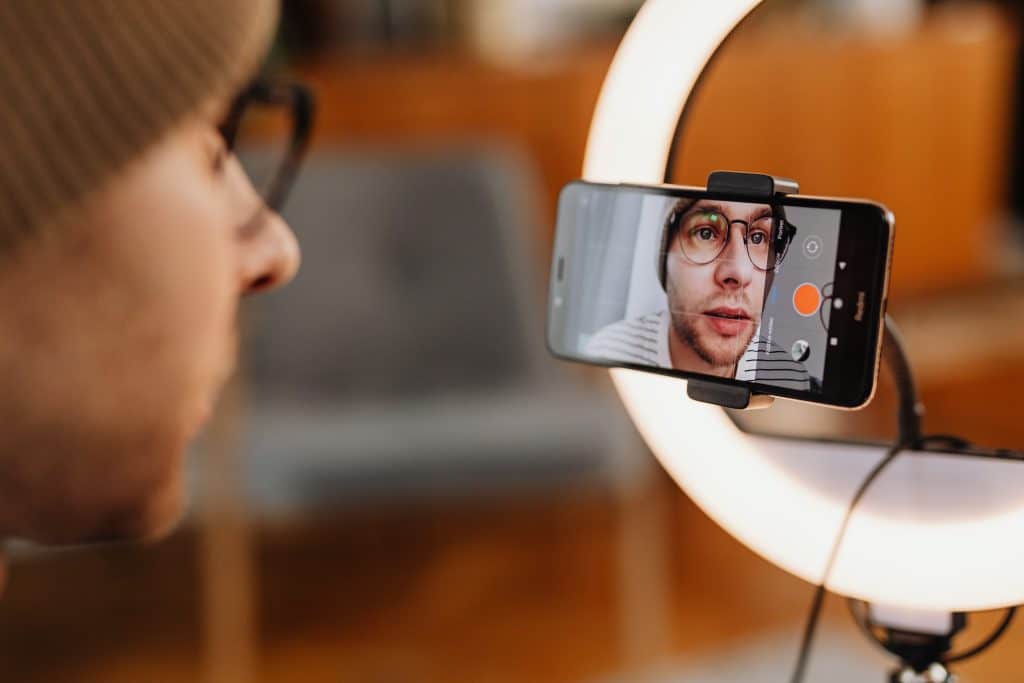
A guy taking video of himself

A guy taking video of himself

When you want to caption your video, auto-caption works best when you clear up the background noise and limit the music. It’s also important to speak clearly, loudly as much as possible. Pronouncing words correctly will help ensure that they’re accurately transcribed by Subcap.

Clear up the background noise.

There are a few things you can do to make sure that your video is as clear as possible. First and foremost, use a quiet room for recording your videos. This will help eliminate the background noise and allow for auto-caption to work its magic. If there is any kind of interference or interruptions in your video, it will be very difficult for automatic captions to understand what is being said.

Another tip is to have a microphone that has some sort of noise cancelling feature—this might be built into your computer or phone’s camera or included with an external webcam purchase. Noise cancelling microphones help block out distracting sounds like air conditioners or fans in the background while still allowing you to record clear audio from whoever may be speaking into them at the time of recording (like yourself).

Another option would be using headphones with microphones attached right onto them!

Limit background music.

The first step to creating a video that will work for auto-caption is to make sure the background music doesn’t get in the way. If too much of your video has loud and distracting background music, it’s going to be hard for our technology to understand what’s being said and ensure your audience can hear their content clearly.

If you want to add music to your video, do it after you captioned your video.

Speak clearly and loudly as much as possible.
  • Speak clearly and loudly as much as possible. It’s not the only thing that matters, but it is definitely the most important.
  • Don’t speak too fast or too slow. The right pace depends on your audience’s attention span, so test it out by reading aloud before recording a video.
  • Avoid mumbling, slurring, or using slang words unless absolutely necessary for clarity purposes only! It makes things difficult for both auto-captioning systems and human transcribers alike when trying understanding what someone said during those moments where we lose our train of thought mid sentence because we forgot some detail about something else entirely unrelated (and thus begin rambling). This can also help keep things interesting when watching back later on since people tend not do this type thing often enough while talking naturally anyway 🙂
Pronounce words correctly.

To make your captions more accurate, you should pronounce words correctly and use correct punctuation. In addition to using proper grammar, this will help Subcap’s automatic captioning algorithm better understand what you’re saying in the video.


Using the tips above will help you get the most out of your auto-captioned video.

Auto captioning is a great tool for people who are deaf or hard of hearing, as well as anyone who needs subtitles to be able to hear audio. This process can be used in many languages, so it’s not limited to just English—you can find captions in 125 languages on Subcap!

As you can see, there are a number of things you can do to make sure your auto-captions are accurate. Auto captioning is growing in popularity, but there are still some kinks that need to be worked out before it becomes the standard way of generating subtitles. With these tips and tricks, you should be able to get better results than ever before!


How to Automatically Add Subtitles to Videos


We all know that videos with subtitles increase reach and engagement on social media. So, it’s a pretty good strategy to add subtitles to your videos because 85% of videos are watched without sound.

You want to add subtitles but you don’t have the time and energy to type it all? There should be a quick and easy way, right?

You can add subtitles automatically and you can do it easily on your mobile phone. All you have to do is download Subcap on your iOS or Android phone.

Subcap is an auto-subtitle generator mobile app with high accuracy thanks to its artificial intelligence. It allows you to shoot a video or upload a video from the gallery. It automatically transcribes the audio to text in 125 languages.

Besides, you can automatically translate subtitles created in the language of your video into other languages and add a new subtitle to your video. Subcap uses machine translation to detect more than one hundred languages. You can also create your video with subtitles by adding your .srt file to your video.

You don’t need to log in or give any personal information. Just download Subcap and start captioning your videos. It’s so easy. Let’s see how it works.

How to add subtitles

First of all, you can shoot a video from the homepage or add an existing video from your phone.

After adding a video, select your video language.

Select language on Subcap app    Select languages on the app

And tap Auto-Generate Captions.

If you want to add subtitles automatically, select Go Pro.

If you are already Pro, it’ll ask again and just select Continue. And then you can edit the subtitles easily if necessary.

Add captions (subtitles)? Continue or Add Manually buttons

Congrats! You now have a captioned video that you can share on social media. Now you can connect with your viewers instantly to make more connections, increase engagement rates, and gain followers.

If you have any questions, please check our FAQ page.

How to Fix Instagram’s Auto-Generated Captions

Automatically generated captions are now available for all feed videos on Instagram and captions will be turned on by default. TikTok introduced this feature in April 2021, so it’s not surprising that Instagram did the same.

Head of Instagram Adam Mosseri said that “It’s a long time coming, but we’re excited to share a new tool that empowers those in the deaf and hard-of-hearing communities. Videos on Instagram will now have auto-generated captions, where you have the option to turn them off or on.”

Captioning on Instagram: Instagram's auto-captions, two phones showing settings
Image Credit: Instagram


What is wrong with Instagram’s Auto-Captions?

Even though it is a late but great feature, it’s still not good enough.

Let’s learn all about captioning on Instagram. Here are all the features that it’s currently missing.


1. Customization:

Your videos on Instagram feed will have black and white text captions along the bottom of the screen and you cannot change the font, size or location. You cannot change the color of the text either. Needless to say, you can do all of those and more on Subcap. You can also add emojis to your captions.


2. Editing:

You don’t have the option to edit the auto-captions on Instagram.  They will be auto-generated and that means lots of wrong captions which are doomed to become funny memes. Don’t risk it and edit your captions via Subcap.


3. Limited Language Options:

Instagram’s auto-generated captions are only available in 17 languages for now. Subcap supports 125 languages and their variants with great accuracy.


4. No Auto-Captioning for Stories or Reels:

Instagram hasn’t made any announcements about the auto-captions feature for Stories and Reels. In the meantime, you can use Subcap and post your videos on every social media platform including TikTok, Snapchat, Instagram Reels and Stories, Facebook, Twitter or via E-Mail, Whatsapp, etc.

As you can see above, Instagram’s auto-captioning feature is great for accessibility and more. However, it’s not quite there yet.

Subcap is perfect for captioning on Instagram. If you’d like to try Subcap, click the links below.

iOS

Android

If you’d like to know why it’s a good idea to caption all your videos, read our blog post about it.


Why You Should Always Add Subtitles to Your Videos

Did you know…

that 6% of the world’s population is affected by deafness or hearing loss?

that 85% of all social media videos are watched without sound?

that videos with subtitles are 80% more likely to be watched in full?

According to Forbes, 78% of consumers’ purchases are impacted by companies’ social media posts. For that matter, it’s really to your benefit to connect with as many social media users as possible, including people with disabilities.

While the main use of accessibility features is to enable people with disabilities to use social media, using them properly provides more business benefits, such as greater reach, higher engagement and better SEO. Because not only the deaf community but also everyone who uses social media actively can benefit from readable videos.

85% of videos are watched without sound.  For this reason, subtitles can help boost your SEO and even improve brand recall by enabling search engines to crawl and index your videos. Despite all these benefits, only 36% of organizations add subtitles to all their video content. Wouldn’t you want to make a difference and get ahead?


So,  let’s sum up…

Get 17% more reactions compared to non-subtitled videos 

Get 26% more CTA clicks compared to non-subtitled videos

Get 35% more viewers compared to non-subtitled videos

Engage with 85% of viewers who don’t have their sound on

Make your contents accessible to more than 400 million deaf people

Increase your watch time and boost your ranking by 15%

Connect with your viewers

Instantly build more relationship

Increase engagement rates 

Create scroll-stopping videos 

Facebook, Instagram, TikTok, Snapchat and more. Stories, ads? Them too.

Get more clicks, sales and conversions

Waste less time on creating subtitles and captions manually

Improve SEO, index your videos in multiple languages


You want to add subtitles but you think you don’t have enough time for it? Why don’t you try an auto-subtitle app like Subcap?

Subcap allows you to shoot a video simultaneously or upload a video from the gallery. It automatically transcribes the audio to text which you can edit or copy. Subcap’s auto-captions maker uses artificial intelligence to generate subtitles with perfect accuracy. Subtitles can be added in different colors, fonts, or positions according to selection. With Subcap, you can easily and automatically add subtitles to your videos not only in English but also in 125 languages and variants.

Subcap is free to download and includes in-app purchases. If no subscription is purchased, you can manually add subtitles to your videos. During your subscription period, you don’t have to pay for anything extra, so no bad surprises!


10 Apps that Every Content Creator Should Know

Whether you are a content creator or just a regular social media user, creating content and dealing with social media every day can be tiring. It also takes so much time and effort. And let’s admit that the content we see on social media has become a little too familiar.

Thankfully, there are a bunch of tools out there to make content creation easier for us all. So we are here to share 10 apps for you to stand out from the crowd and have the best content for your followers.

1. Evernote

Evernote for content creators

Evernote has everything you need to organize your life. Great notetaking, project planning, and an easy way to find what you need, when you need it. 

With Evernote, you can work anywhere, remember everything, find things fast and get things done easily. All of this allows you to create entirely new types of content, meaningful and informative.


2. Buffer
buffer for content creators

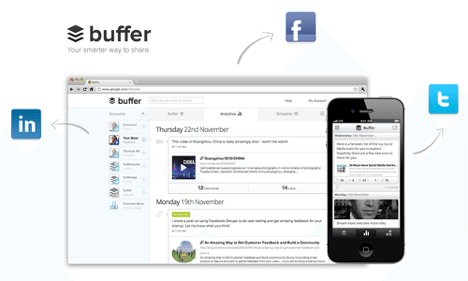
Buffer is a platform where you can manage different social media channels. For each social media account, you can manage post scheduling, view the direct messages you receive and generate reports.

With the Buffer App, you can regularly follow the posts you will make on social media, set the time of your posts with the timer feature and see how much interaction your posts get.


3. Subcap
Sunbcap for content creators

We all know that most people don’t watch videos with the sound on, therefore adding subtitles in videos is a must.

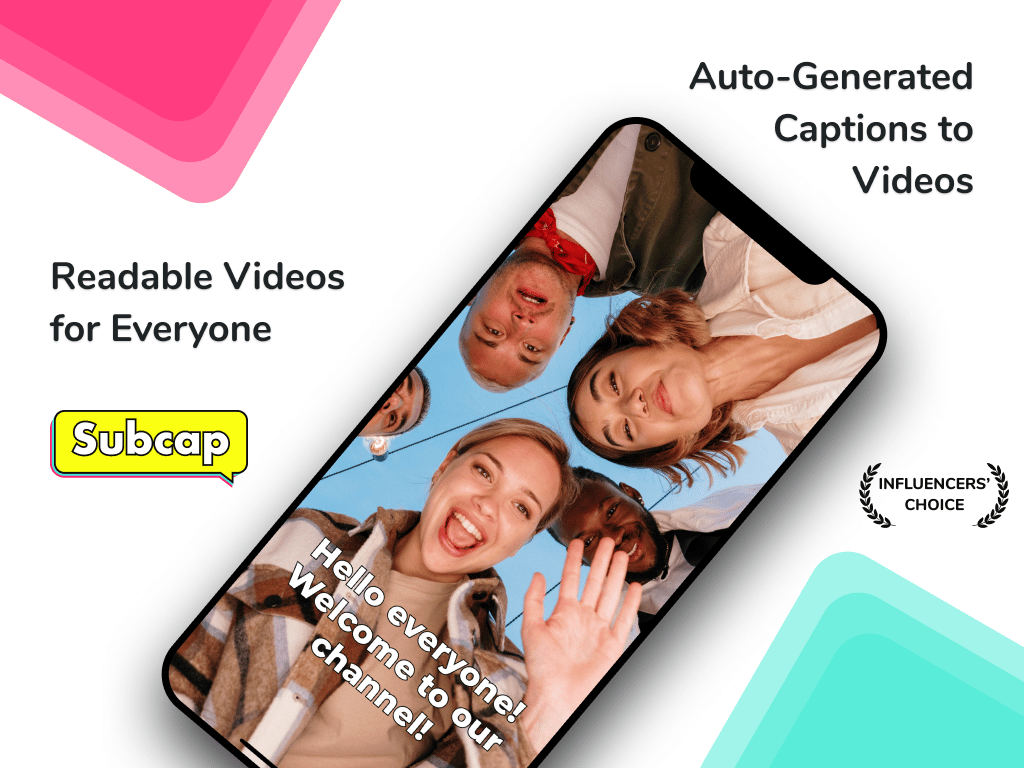
Subcap is an automatic subtitle app for your videos. It’s easy to use, simple but brilliant. Its speech-to-text engine is the best on the market which transcribes your words accurately in 125 languages. You can use it for all social media videos.

Putting subtitles on your videos increases your engagement and makes your content reach more people. It also makes your videos accessible for the deaf and hard of hearing.


4. Canva
Canva for designs

Canva helps you create professional designs and graphics. You can edit photos, add text, elements, stickers, frames and more. There are also more than hundreds of professional templates that you can customize to suit your needs.


5. Snapseed

Snapseed for content creators

Snapseed is one of the very useful photo editing apps, only available for mobile devices. Snapseed allows you to edit your photos to improve their aesthetic quality. You can then save, share, and export your final edited photo.

Snapseed’s photo editing tools come pretty close to some of the features found in the professional and often costly image editors.


6. Splice

Splice for videos

GoPro’s Splice is a free video editing application that works on iPhone and iPad. It’s a powerful video editor with a lot of features such as trimming, cropping, effects, transitions, titles, speed controls, animations, and more. It even has a library of free music and sound effects.


7. All Hashtag

All Hashtag for content creators

All Hashtag is a hashtag generator for Instagram, Twitter, and other social media networks. You must enter a term to get hashtag recommendations that are relevant to that word.

This program will produce and evaluate thousands of relevant hashtags for you to copy and paste into your social media posts. This can help you increase the reach of your content and the visibility of your business on social media.


8. LifeLapse

Life Lapse for content creators

LifeLapse is a stop motion app with all the tools you need to record and edit stop motion animations. You can import photos and use the app’s video editing tools to adjust frame rates, apply visual effects, and create soundtracks from royalty-free songs.

If you don’t know anything about stop motion videos, don’t worry. LifeLapse developers have created in-app academy to help you learn how to create stop motion videos.


9. Grammarly
Grammarly for content creators

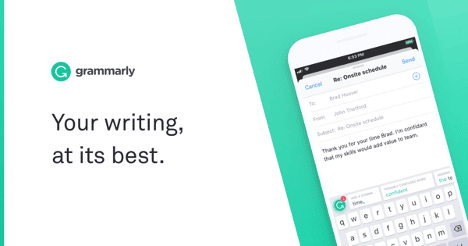
Grammarly scans a text you’ve written and checks for any errors. The free version covers the basics (grammar, punctuation, and spelling) but the premium version goes a step further by providing stylistic and best writing practice recommendations.

It helps users write error-free content on Gmail, Facebook, Twitter, LinkedIn, and almost anywhere else.


10. Typeform

Typeform for content creators

Doing surveys is a great way to prompt engagement on social media. Typeform is an easy-to-use quiz, form, and survey builder that allows you to ask your audience questions in a variety of formats, including image-based, multi-choice, short answers, yes or no.

Once your quiz is ready, you can share it on social media platforms or share the link.
7 Tips for Increasing Your Social Media Engagement

accessible social media

Brands, organizations and institutions use social media platforms every day to connect with their audiences, raise awareness and drive leads and business. Your social media accounts literally can make or break your business. Promoting your brand through social media is therefore vital to your business but getting your content on these platforms isn’t what gets you the sales. As a business, it’s quality, not just quantity, that you should be striving for. The key is to have followers who’ll actively engage with your content, share it, and ultimately, become paying customers.

Follow these top 7 tips for increasing social media engagement to achieve business growth.

1. Share more video

Video is the most engaging type of content on every social media platform, so if you can, it’s a good idea to create at least one type of video content to maximize engagement. You should upload your videos directly to your social media account, rather than sharing a link of a website so that your video will auto-play to grab your audiences’ attention.

Soc,al media videos

2. Add subtitles to your videos

Did you know that 85% of all social media videos are watched without sound?

It’s shocking, isn’t it? And 6% of the world’s population is affected by deafness or hearing loss. In fact, 80% of people who use captions aren’t deaf or hard of hearing. That means you could be missing out on connecting with millions of social media users. For that matter, adding subtitles to your videos will make you reach a broader audience.

And that’s not all. Video subtitles also provide an SEO boost. Search engine sites now can crawl videos for content.

You can add subtitles to your videos on all your social media platforms, even to your Instagram stories with useful apps such as Subcap. Subcap allows you to take a video simultaneously or upload a video from the gallery. It automatically transcribes the audio to text. With Subcap, you can easily and automatically add subtitles to your videos in 125 languages and variants.

3. Create polls and surveys

Another good practice for creating engaging social media posts is via the use of polls and surveys. Social media polls and surveys are super simple for obtaining that customer feedback you need quickly.

Voting on a poll allows you to instantly see real-time results. People sometimes just click to see what the results are. Keep this irresistibility factor in mind as you create poll questions and response options.

4. Get the timing right for your posts

Publishing posts at times when your target customers are most likely active is one of the best ways to ensure your followers will see your content giving you the best chance of generating engagement. The secret behind a successful social media post is to share the right post at the right time. No matter how strong your marketing campaign is, timing is a crucial factor. If you do not publish your posts at the right times, you may not get the results you want.

5. Be proactive in listening to and responding to your online community

Did you know that 83% of your Facebook fans, and 71% of your Twitter followers, now expect a response from you on the same day when they ask a question on each platform?

Listen to their needs and respond accordingly. When you make your online community feel heard and acknowledged, they’re more likely to become fans and your most loyal social media ambassadors.

6. Use analytics tools to monitor engagement

Analytics Tools are really helpful in monitoring the levels of engagement on social media, websites and more. Data from your analytics also ensure you get more out of the time you spend. For best results, make sure you use the right tools to track your analytics and only track metrics that matter most to your business.

With the help of social media analytics tools, you can understand your audience and your competitors, create better content and better strategy. Make sure to keep tracking regularly so that you catch jumps or dips in engagement that can give you valuable clues about what’s working.

7. Share customer or follower posts

It’s important you share your followers’ and customers’ posts. You should look to publicly recognize people who retweet, favorite, and mention your organization on Twitter, and thank users who comment on Instagram and YouTube. In addition to making the customer feel great about themselves for being worthy to go on your business feed, it can lead to them sharing your reply to them and that means more exposure.


How to Be More Accessible on Social Media

When the internet came into our lives, the Web have become a significant resource in many aspects of life. To provide equal access and equal opportunity to people with diverse abilities, it is important that the websites are accessible. While many organizations are taking the right steps towards a more accessible and inclusive website, the same isn’t necessarily true for their social media channels. While you cannot change the accessibility of the social media platforms, here’s what you can do to make your social media more accessible to provide equal access to your content.

Phone screen showing social media apps in a group of Social Networks

1. Use CamelCase hashtags.

Capitalize the first letter of each word. This is easier for everyone to read and helps automated screen readers to differentiate each word and read out loud. #WriteYourHashtagsThisWay #dontdoitthisway

2. Don’t use too many emojis.

Screen readers have a text description for every emoji. However, when you use too many of them, it might take a long time for a screen reader to read them and to be honest it might also get boring. You wouldn’t want to say “Face with Tongue” five times in a row. 😛😛😛😛😛

3. Avoid GIFs.

On social media platforms, it’s not possible to add alt text to GIFs. So if you insist on using GIFs, you should combine them with some explanation to make them comprehensible.
Moreover, flashing, blinking, flickering and other strong visual images can make it difficult for people with cognitive or learning disabilities to focus on your post.

4. Add subtitles to your videos.

Without subtitles, your videos would exclude the 466 million people worldwide living with some form of hearing loss. This is equivalent to 6% of the world’s population. That means your videos are not accessible to a lot of people.
You can add subtitles to your videos on all your social media platforms, even to your Instagram stories with useful apps such as Subcap. Subcap allows you to shoot a video simultaneously or upload a video from the gallery. It automatically transcribes the audio to text which you can edit or copy. With Subcap, you can easily and automatically add subtitles to your videos, not only in English but also in 125 languages and variants.

Subcap logo, yellow speech bubble
As a matter of fact, eight out of every ten people prefer to watch videos silently so it’s not just people with disabilities who benefit from accessible social media. Subtitles are helpful for people who are watching videos in a noisy environment, in a quiet place, or without headphones, as well as for children learning to read and those watching videos in a second language.

5. Add image descriptions.

You should add alternate (alt) texts in order to provide a context in place of an image, graphic, and other media. This way, screen readers can describe them for blind and low vision users. Text descriptions should be brief but descriptive.
And don’t forget to write image descriptions for your posts or tweets with screenshots. They might include writing, but screen readers can’t read it unless you add it as an alt text.